Open the Source Session
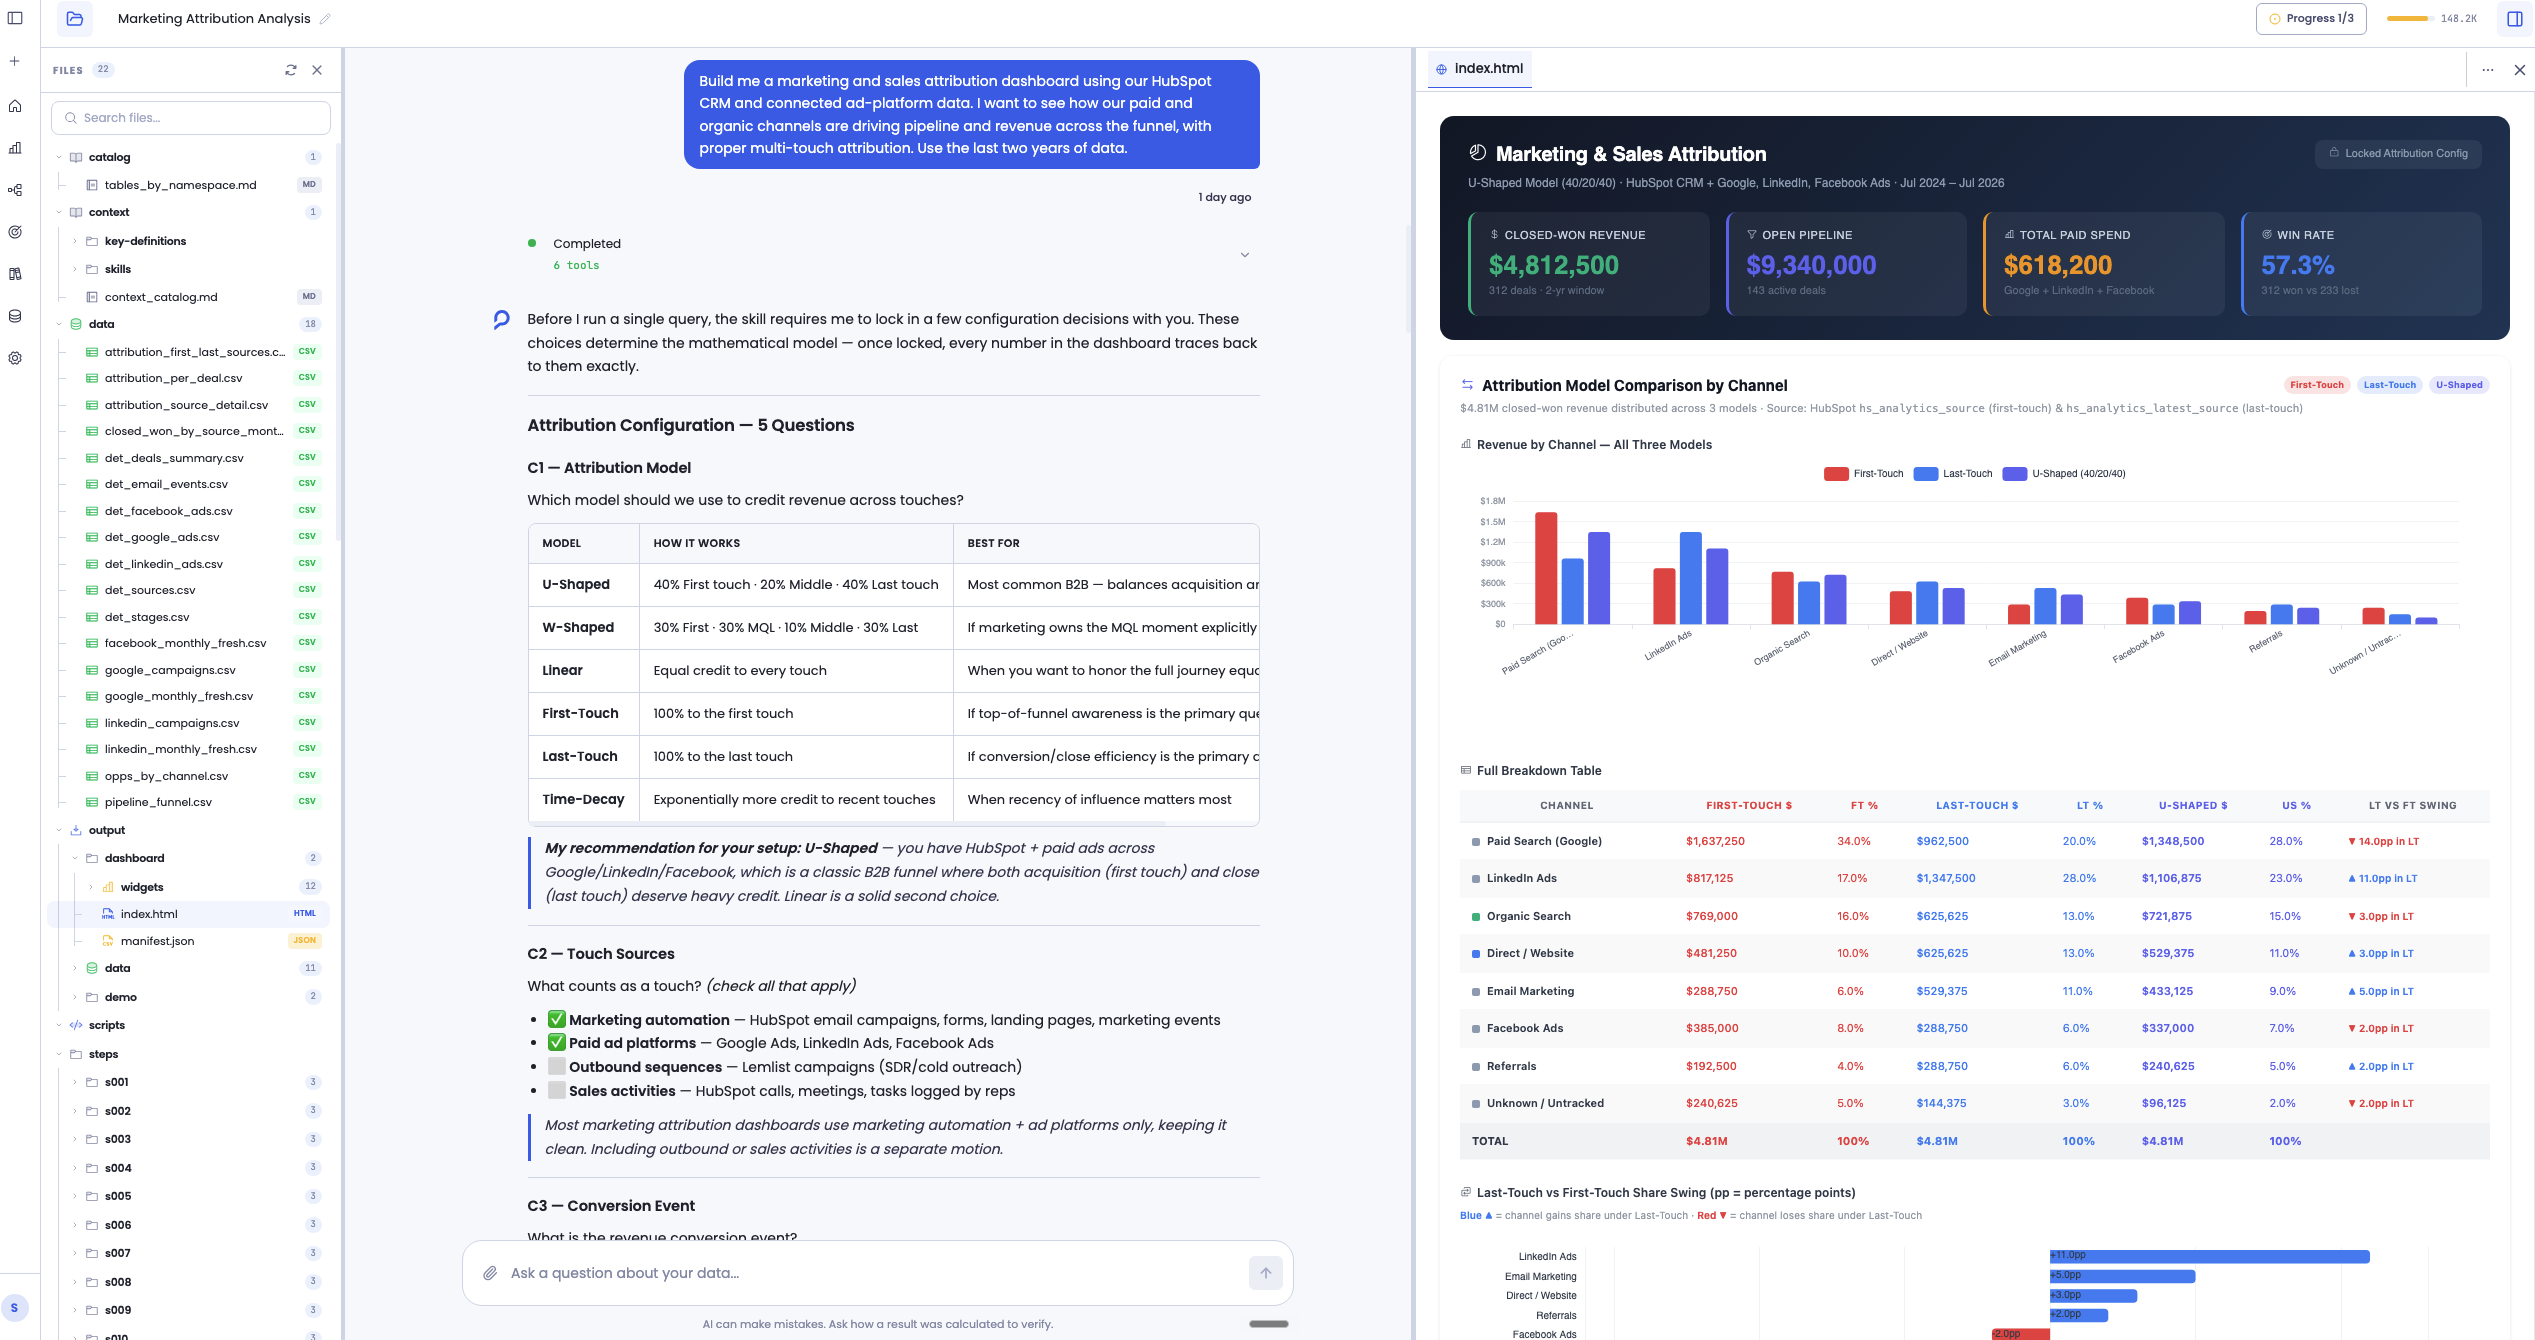
Editing happens in the same chat session where the dashboard was built, its source session. There are two ways to get there:
- From your recent sessions: open it directly from your sessions list
- From the Dashboards page: find the dashboard, open its menu, and choose Source Session. That takes you to the original session where it was created.
Make Your Changes
In the session, make your changes through the conversation, the same way you built the dashboard. Add or remove widgets, change calculations, update filters, or adjust the layout, and the preview updates as you go.
Verify Your Changes
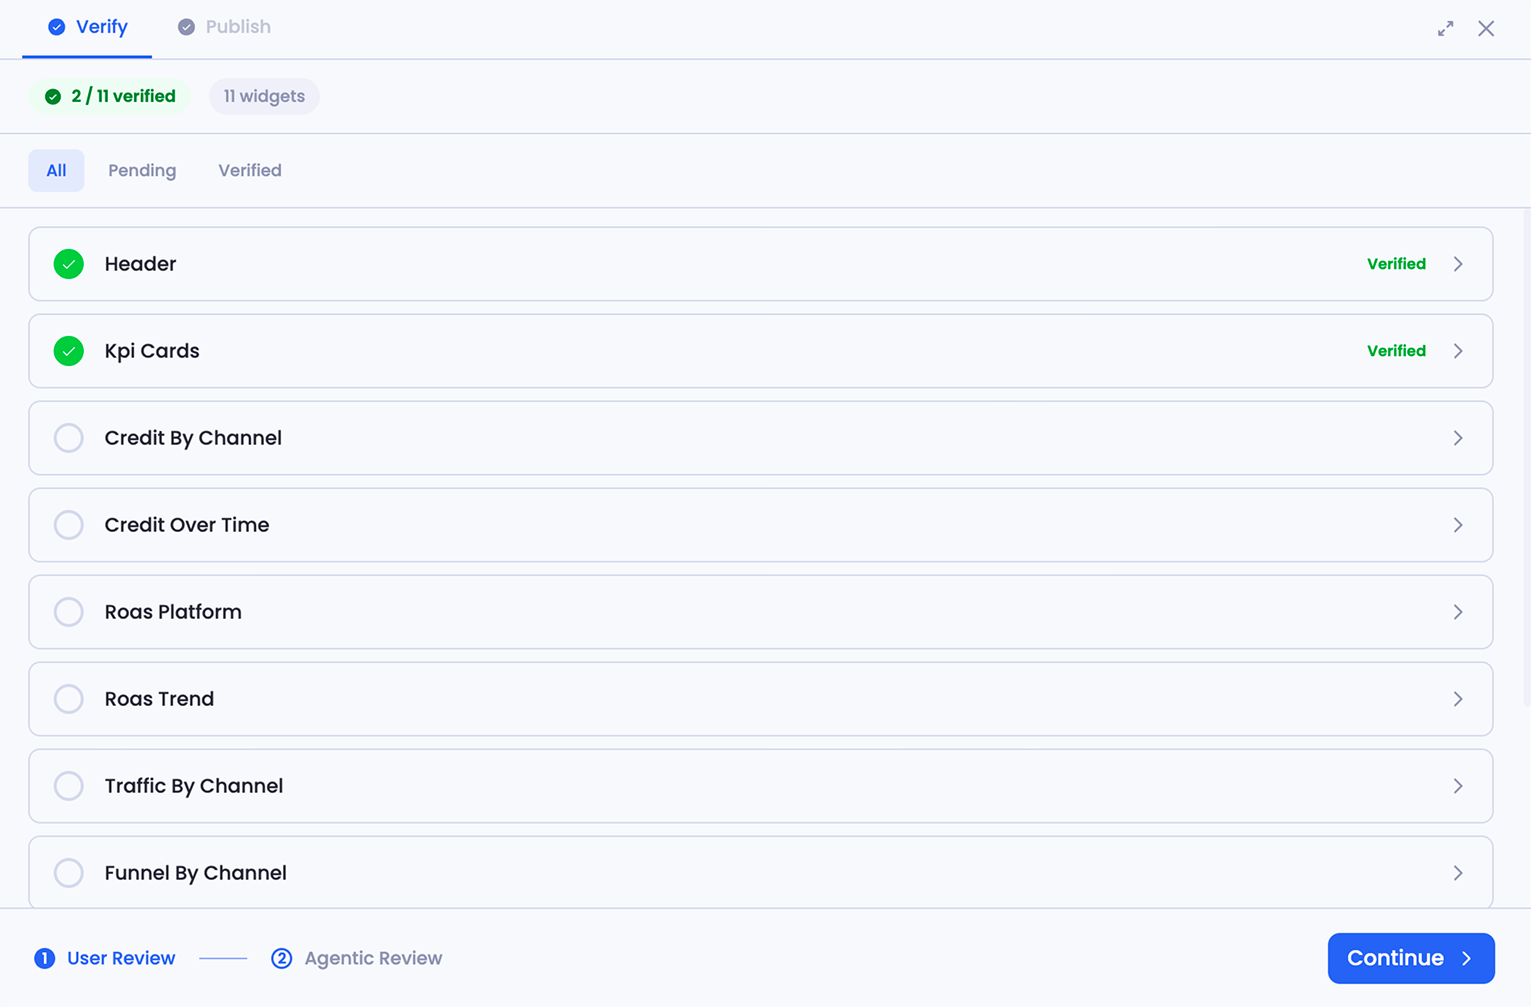
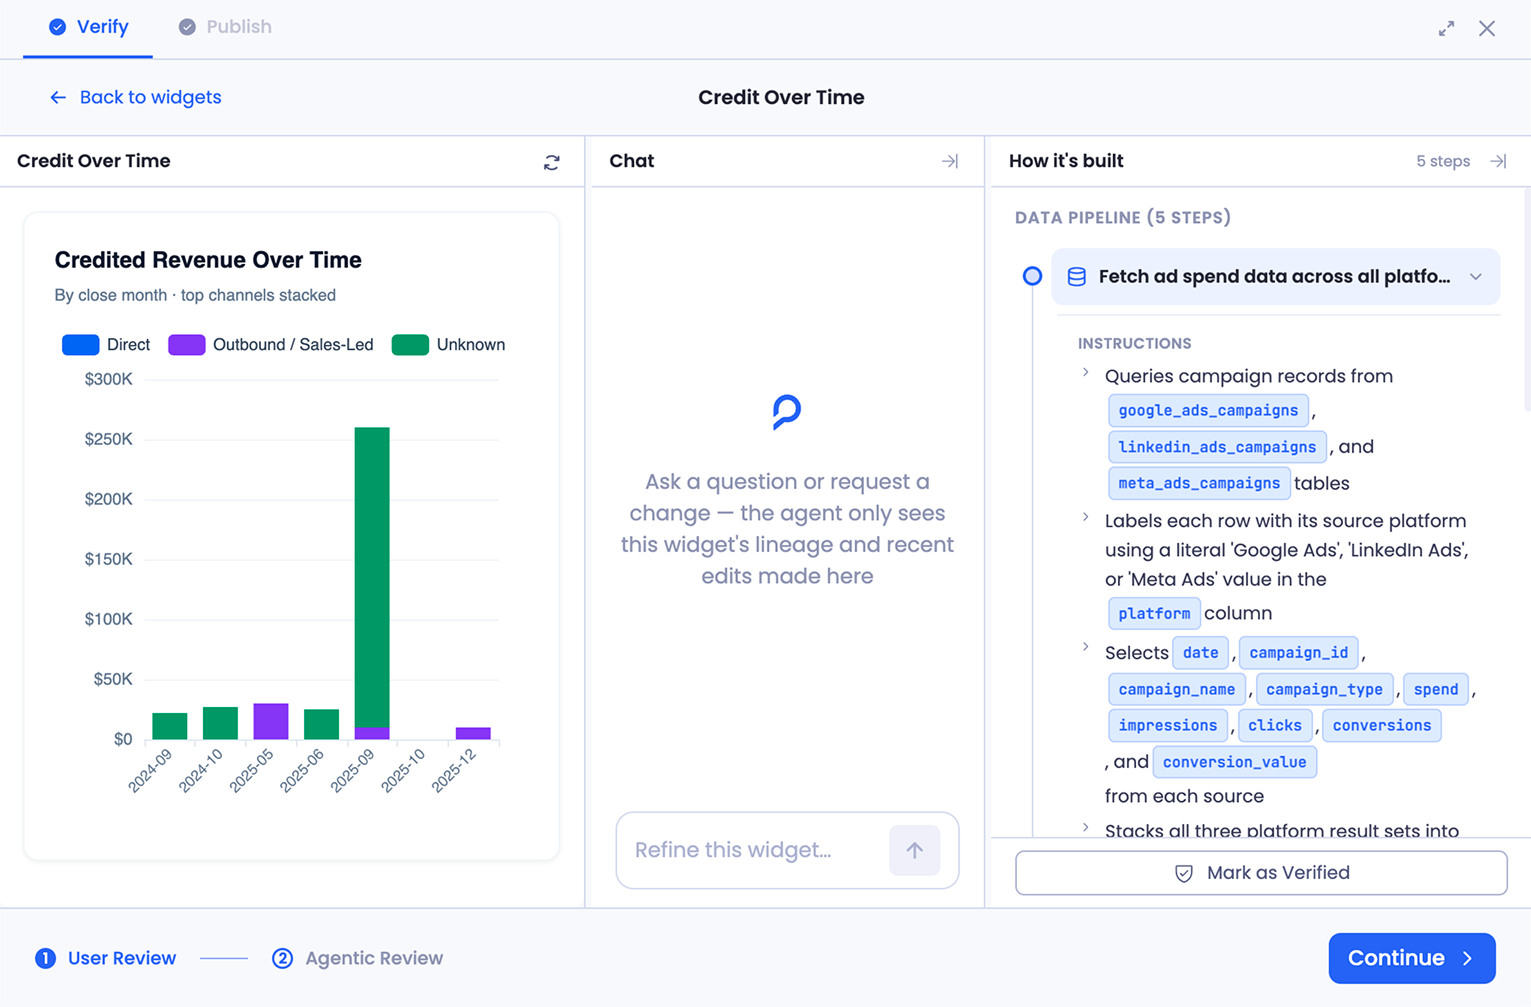
When the changes look right, click Verify & Publish. Verify works exactly as it does when you create a dashboard, in two steps: User Review, then Agentic Review.
The one difference is that your earlier verification carries over. Widgets you already verified stay verified, so you only need to focus on what changed. Agentic Review then runs again to make sure the updated dashboard still refreshes cleanly on every future run.
Publish: Update or Branch
Publishing an edit follows the same three steps as creating: Workflow, Outputs, and Schedule. The Workflow step is where editing differs.
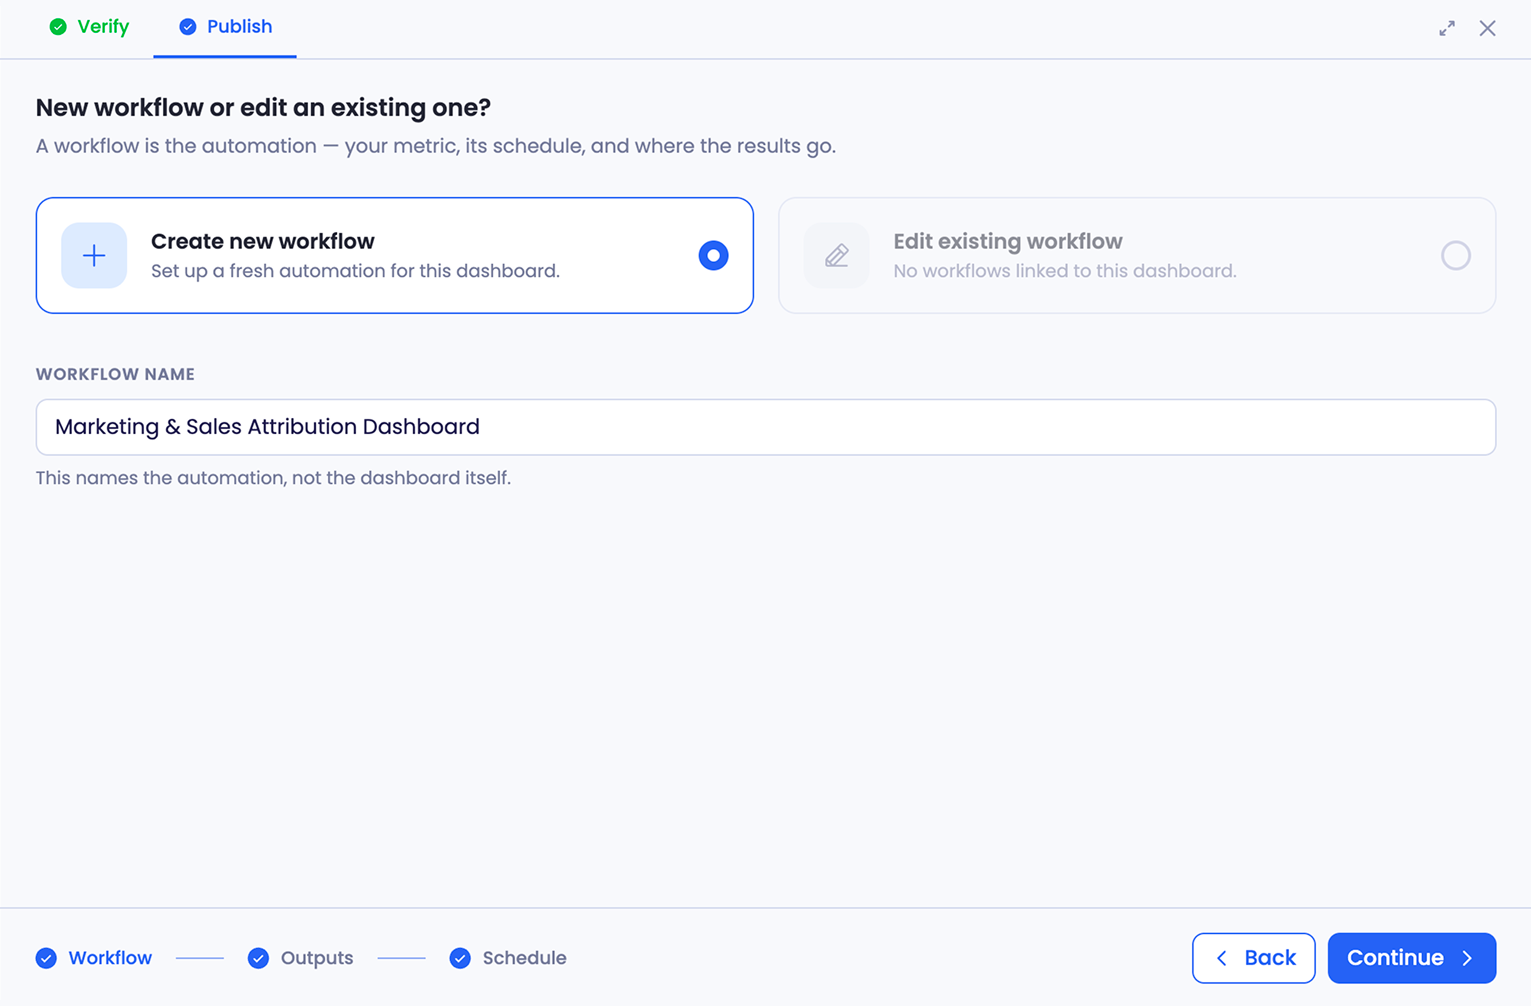
Because this dashboard is already linked to a workflow, the Workflow step now gives you a real choice:
- Edit existing workflow: on the right, select this option and pick the workflow already behind your dashboard from the dropdown. Your changes update that workflow in place, so the dashboard reflects them on its next run. This is the usual path when editing a dashboard.
- Create new workflow: turn your changes into a brand-new workflow instead, leaving the original untouched. This is how you branch off a variation.
A workflow can power more than one output: a dashboard, a Summary, a Slack alert. Editing the existing workflow changes everything built on it. If you only want to change this one dashboard and leave the others as they are, create a new workflow instead.
Outputs and Schedule work the same as when you first published. Click Publish to apply your changes.
Creating a Variation
Want a version of a dashboard with different filters, a different time range, or a subset of widgets, without touching the original? Create a variation.
- Open the original dashboard's Source Session
- Make your changes in the conversation
- Go through Verify, and at the Workflow step choose Create new workflow instead of updating the existing one
The original dashboard and its workflow stay exactly as they were. Your variation publishes as a separate dashboard on its own workflow.
Once you have two dashboards on two separate workflows, they're independent. A later edit to one will not flow to the other, since each has its own workflow. If you plan to keep both up to date, edit each from its own session.
Keep in Mind
Check which workflow you're updating
Every time you reach the Workflow step, confirm whether you're updating the existing workflow or creating a new one. This matters most if you went back to Verify and returned, since it's easy to lose track of the selection.
Re-check your schedule
Your schedule choice may not carry over from the previous publish, so confirm it before you finish.
Getting Help
If you have questions, run into issues, or want to share feedback on the experience, reach out to us directly at support@petavue.com. We're available and responsive. This is a collaborative process and your input matters.