Setting Up Slack
Connecting Slack puts the Petavue agent in your workspace, so your team can ask questions and receive summaries without opening Petavue. Setup takes a few minutes and only needs to be done once.
Before You Start
Connecting an integration is an admin task. Admins have access to the settings area, including the integrations page. If you're a user rather than an admin, you'll need an admin to set this up.
Connect Slack
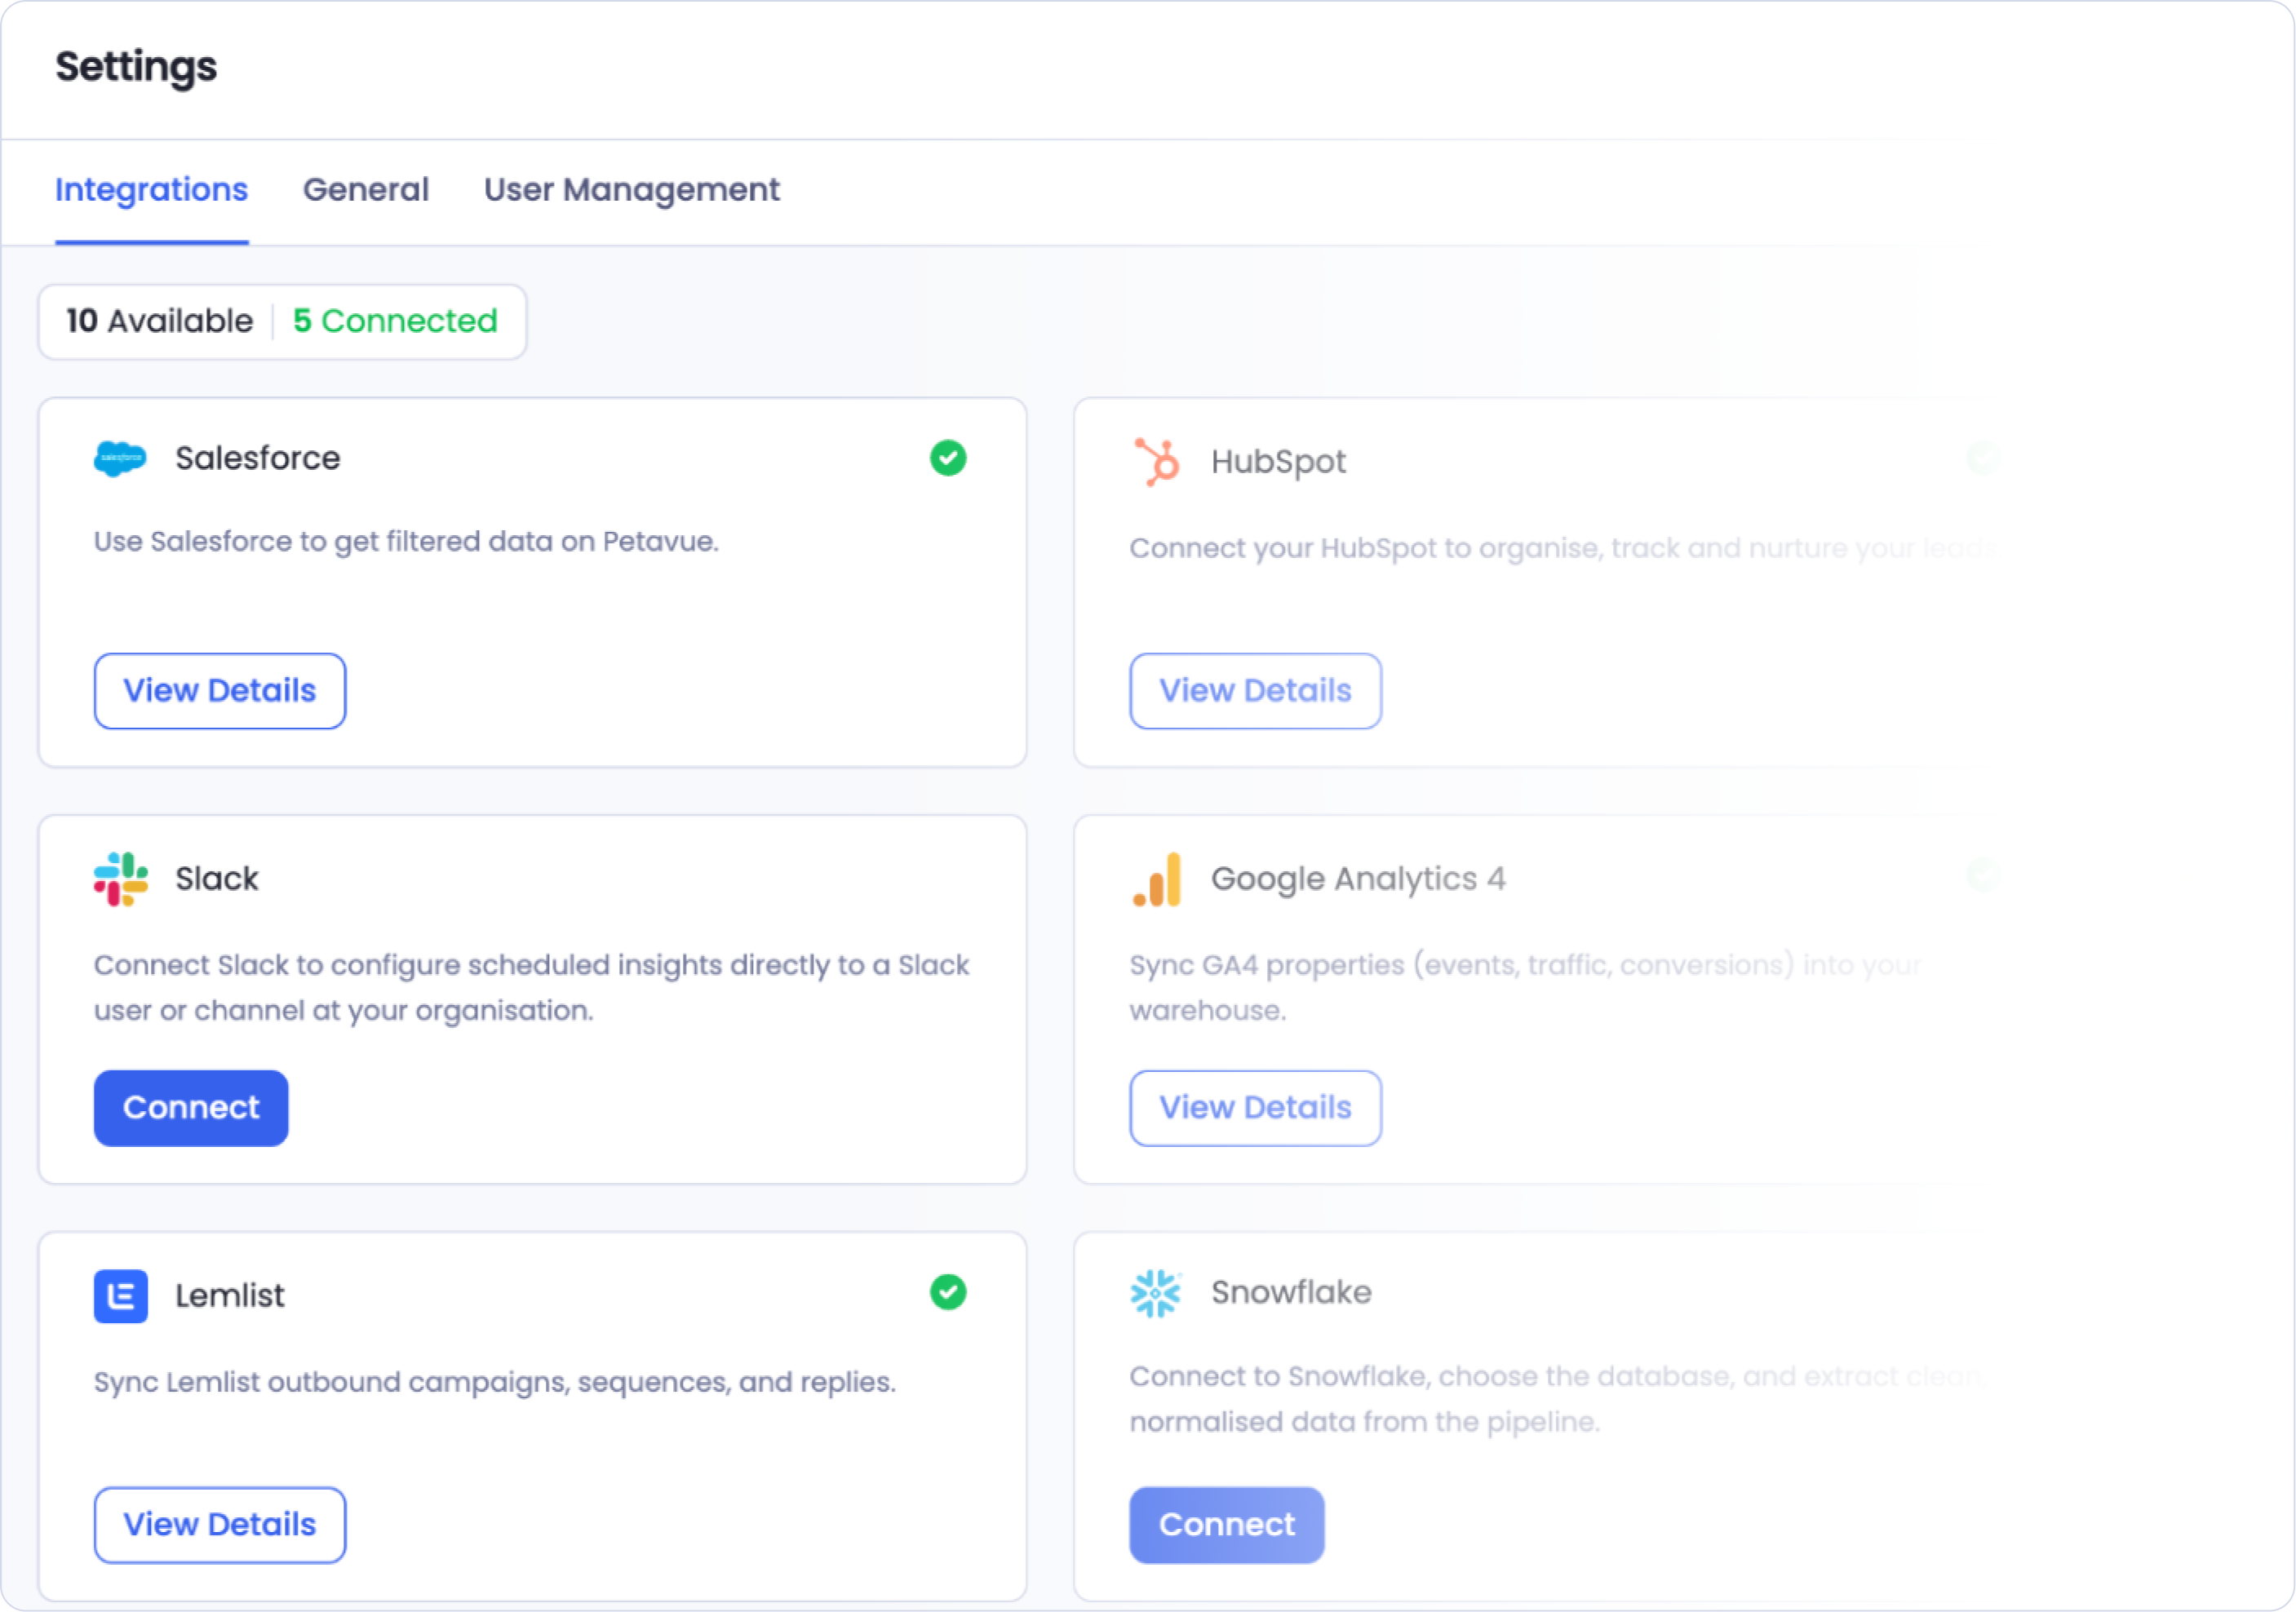
- Go to Settings and open the Integrations tab. You'll see every available integration, with the connected ones marked.
- Find the Slack card and select Connect.
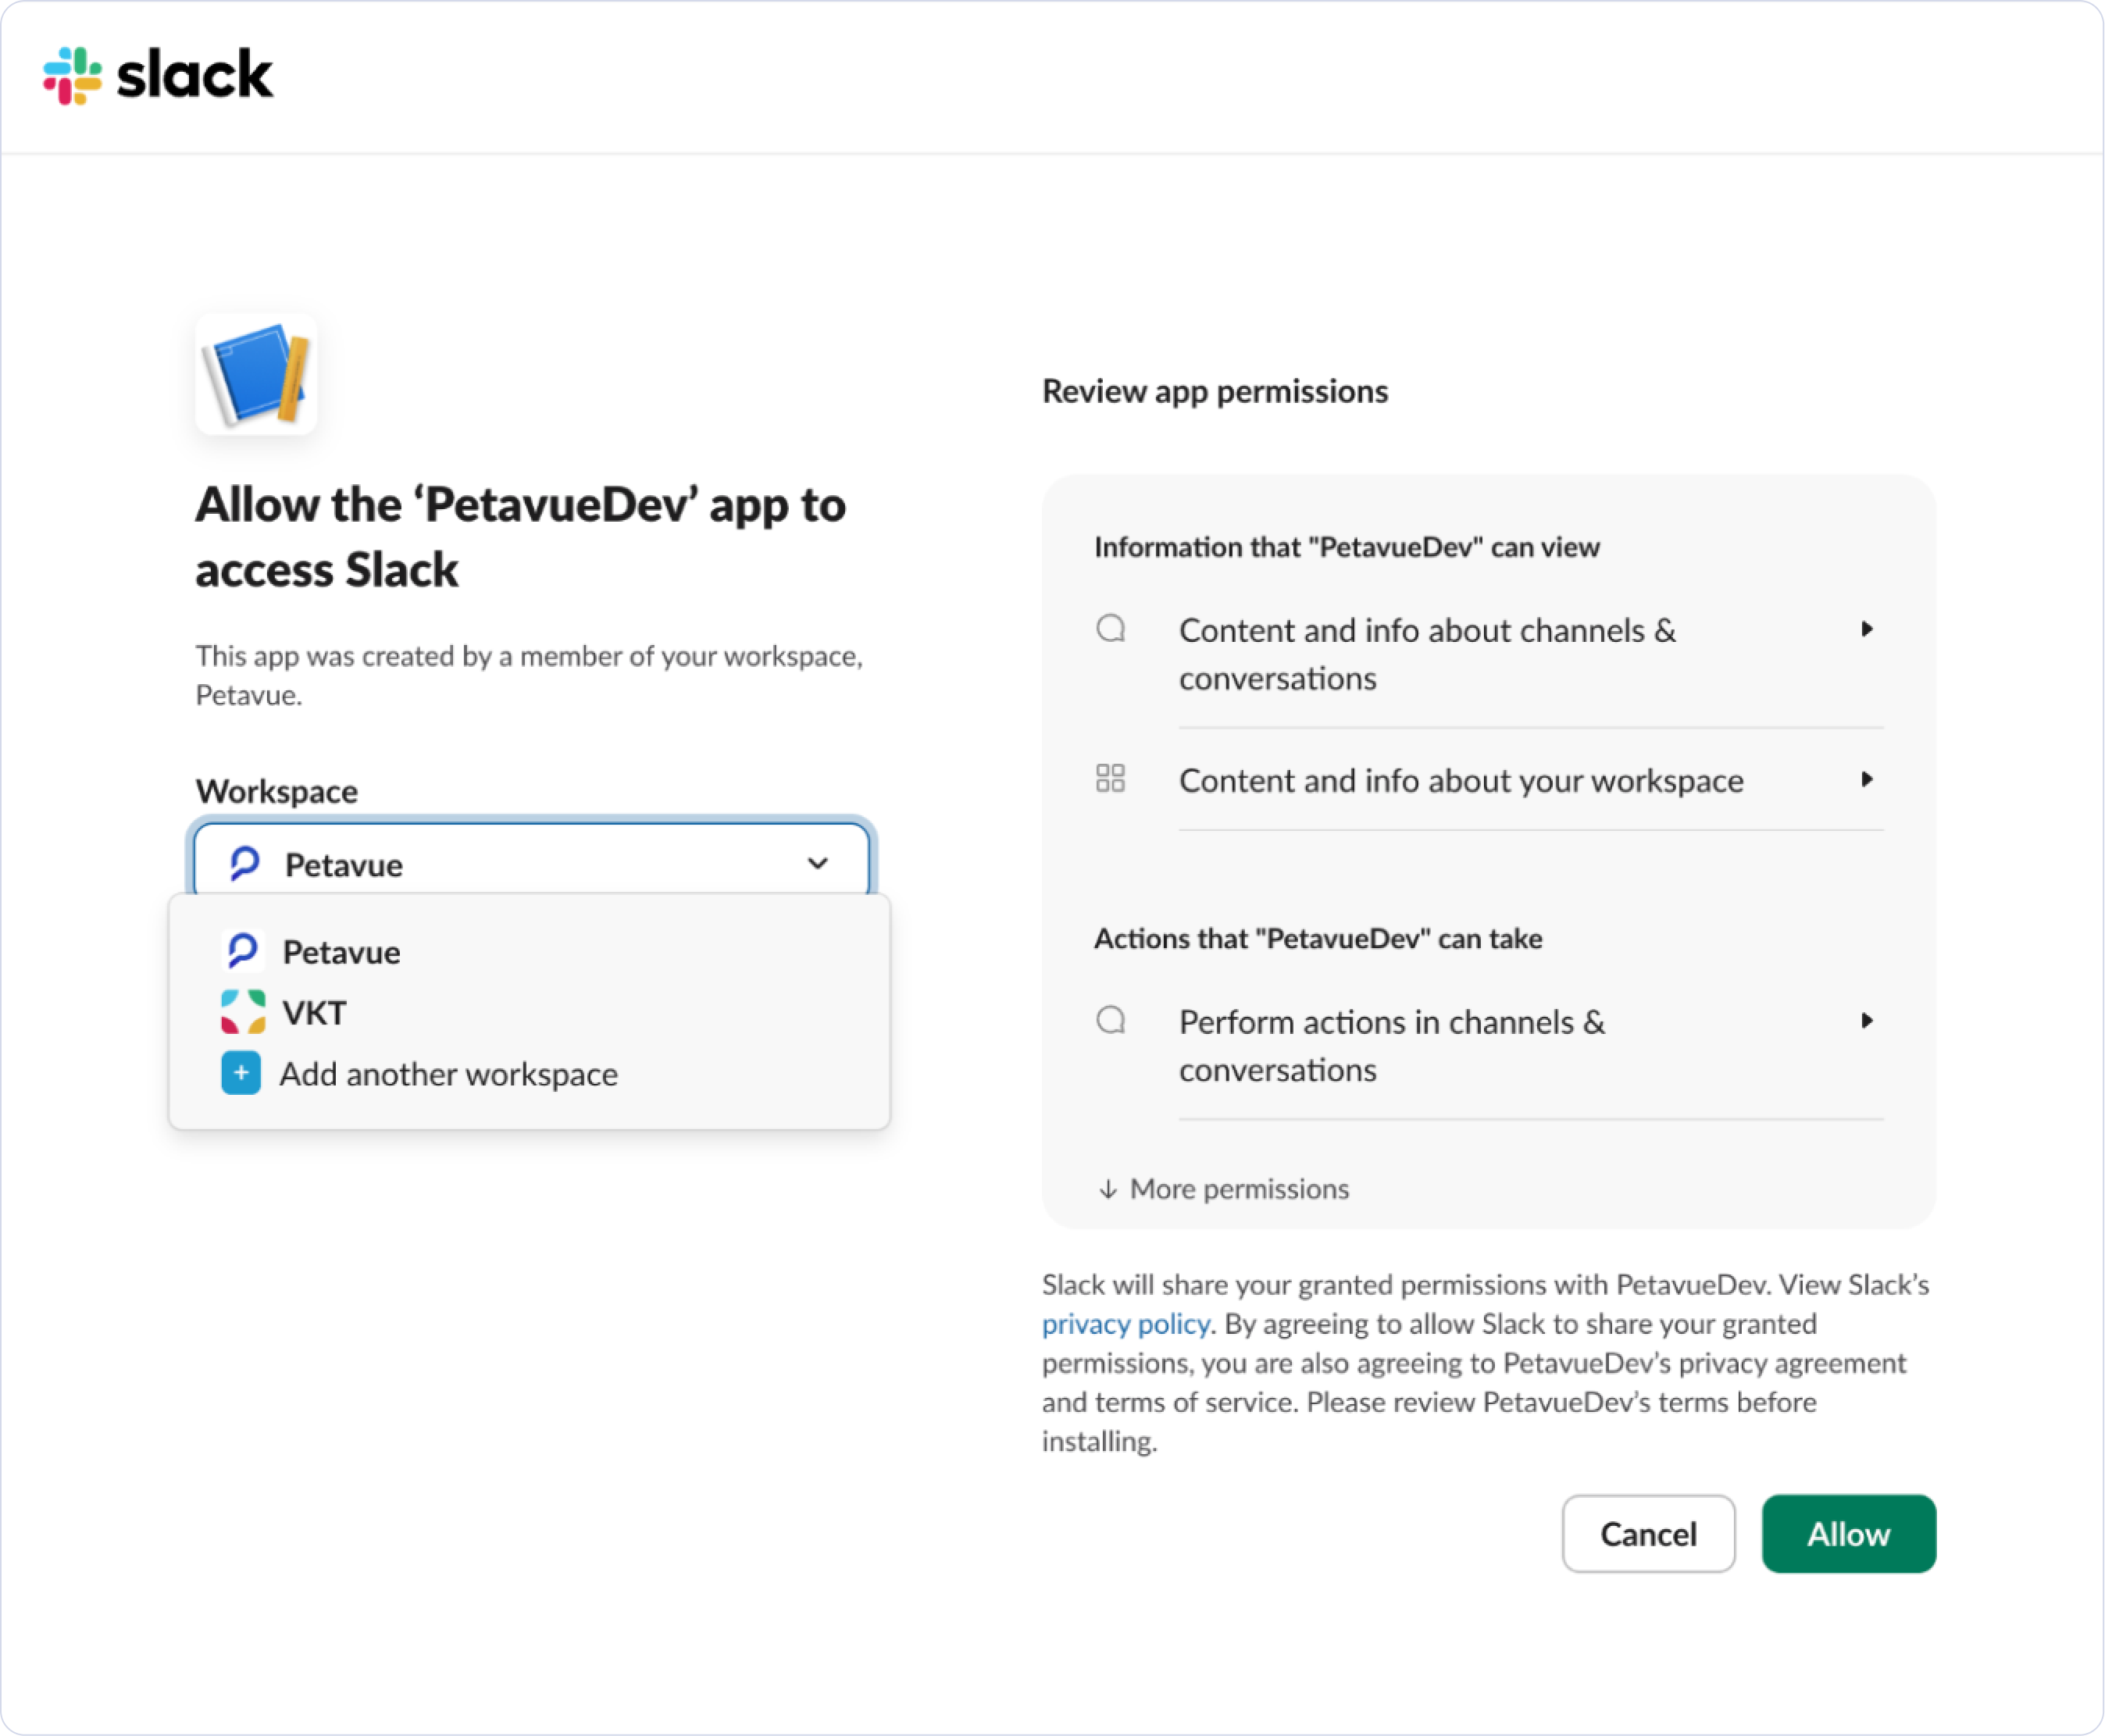
- Slack asks you to authorize the Petavue app. Choose your workspace from the dropdown, which lists every workspace you belong to. Pick the one your team actually works in.
- Review what the app will be able to do. The panel on the right shows the information it can view and the actions it can take, which is what lets the agent read your messages, answer them, and send alerts. Select Allow.
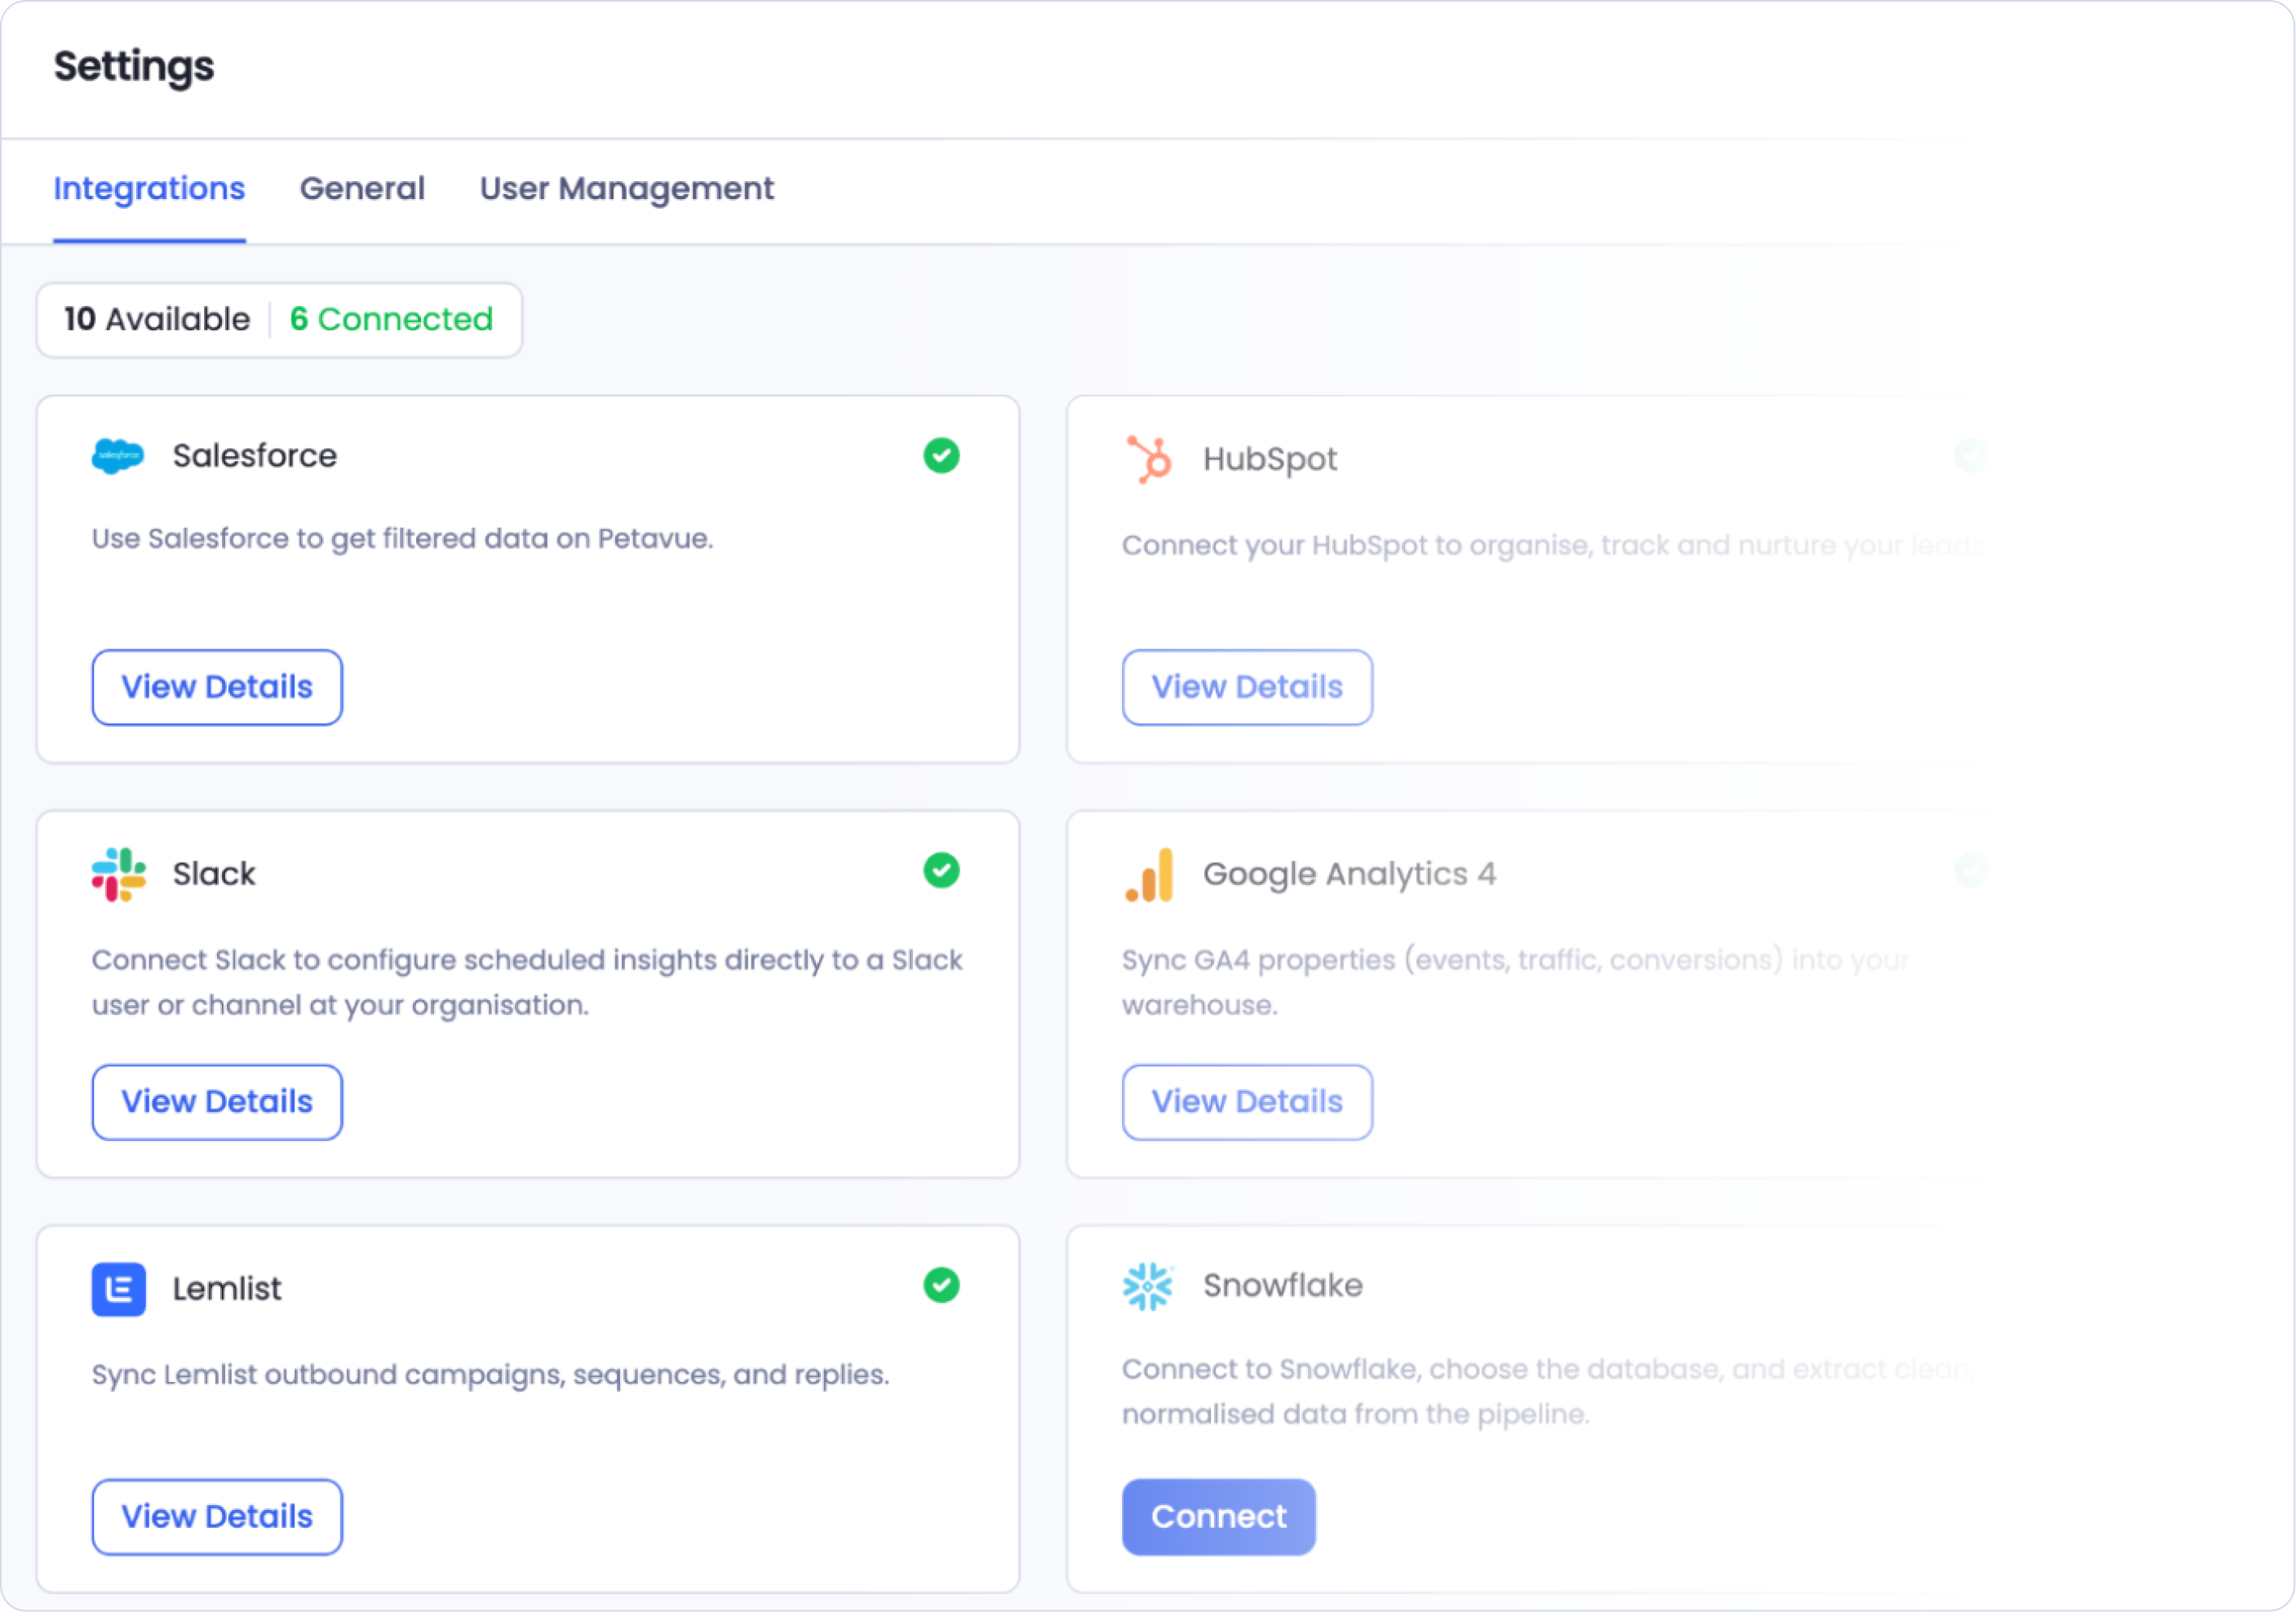
Once it's done, Slack shows as connected, and everyone in your Slack workspace will see Petavue listed under their apps.
Finding the Agent in Slack
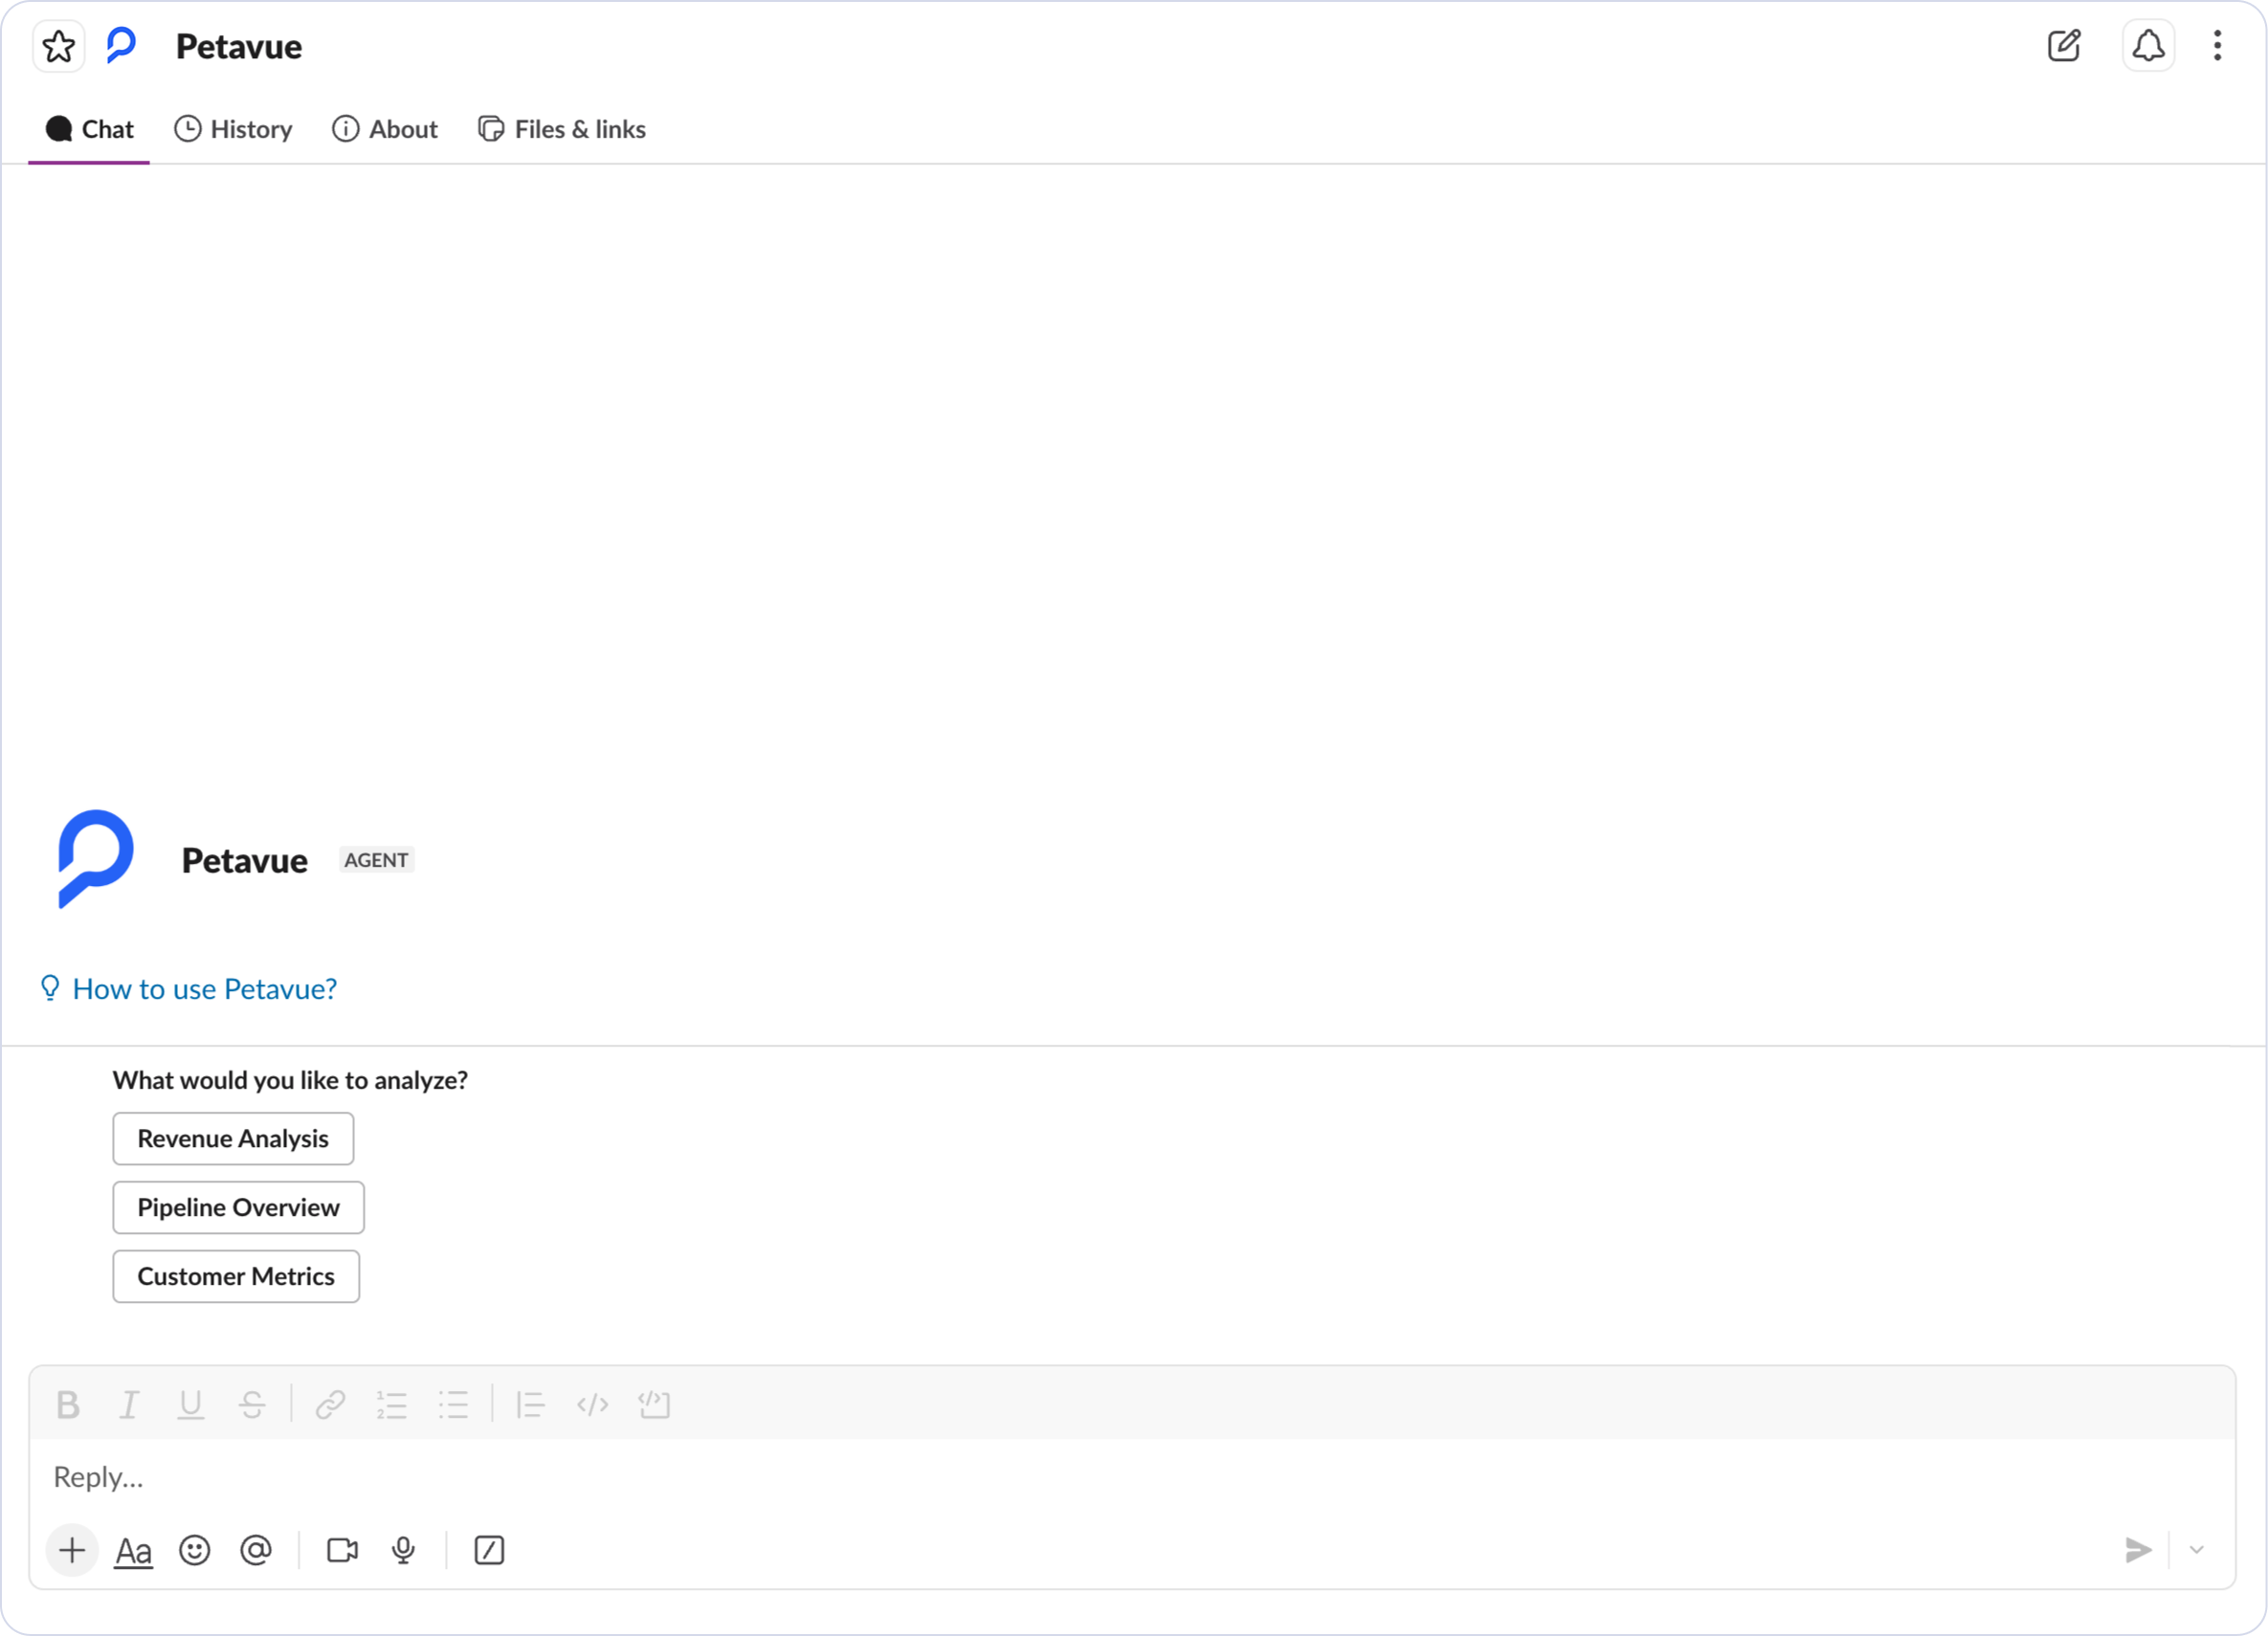
The agent is now available to your workspace. In Slack, open Petavue under Agents & apps and start a conversation.
From there you can start asking questions, and you can configure Slack delivery for your workflows.
Checking the Connection
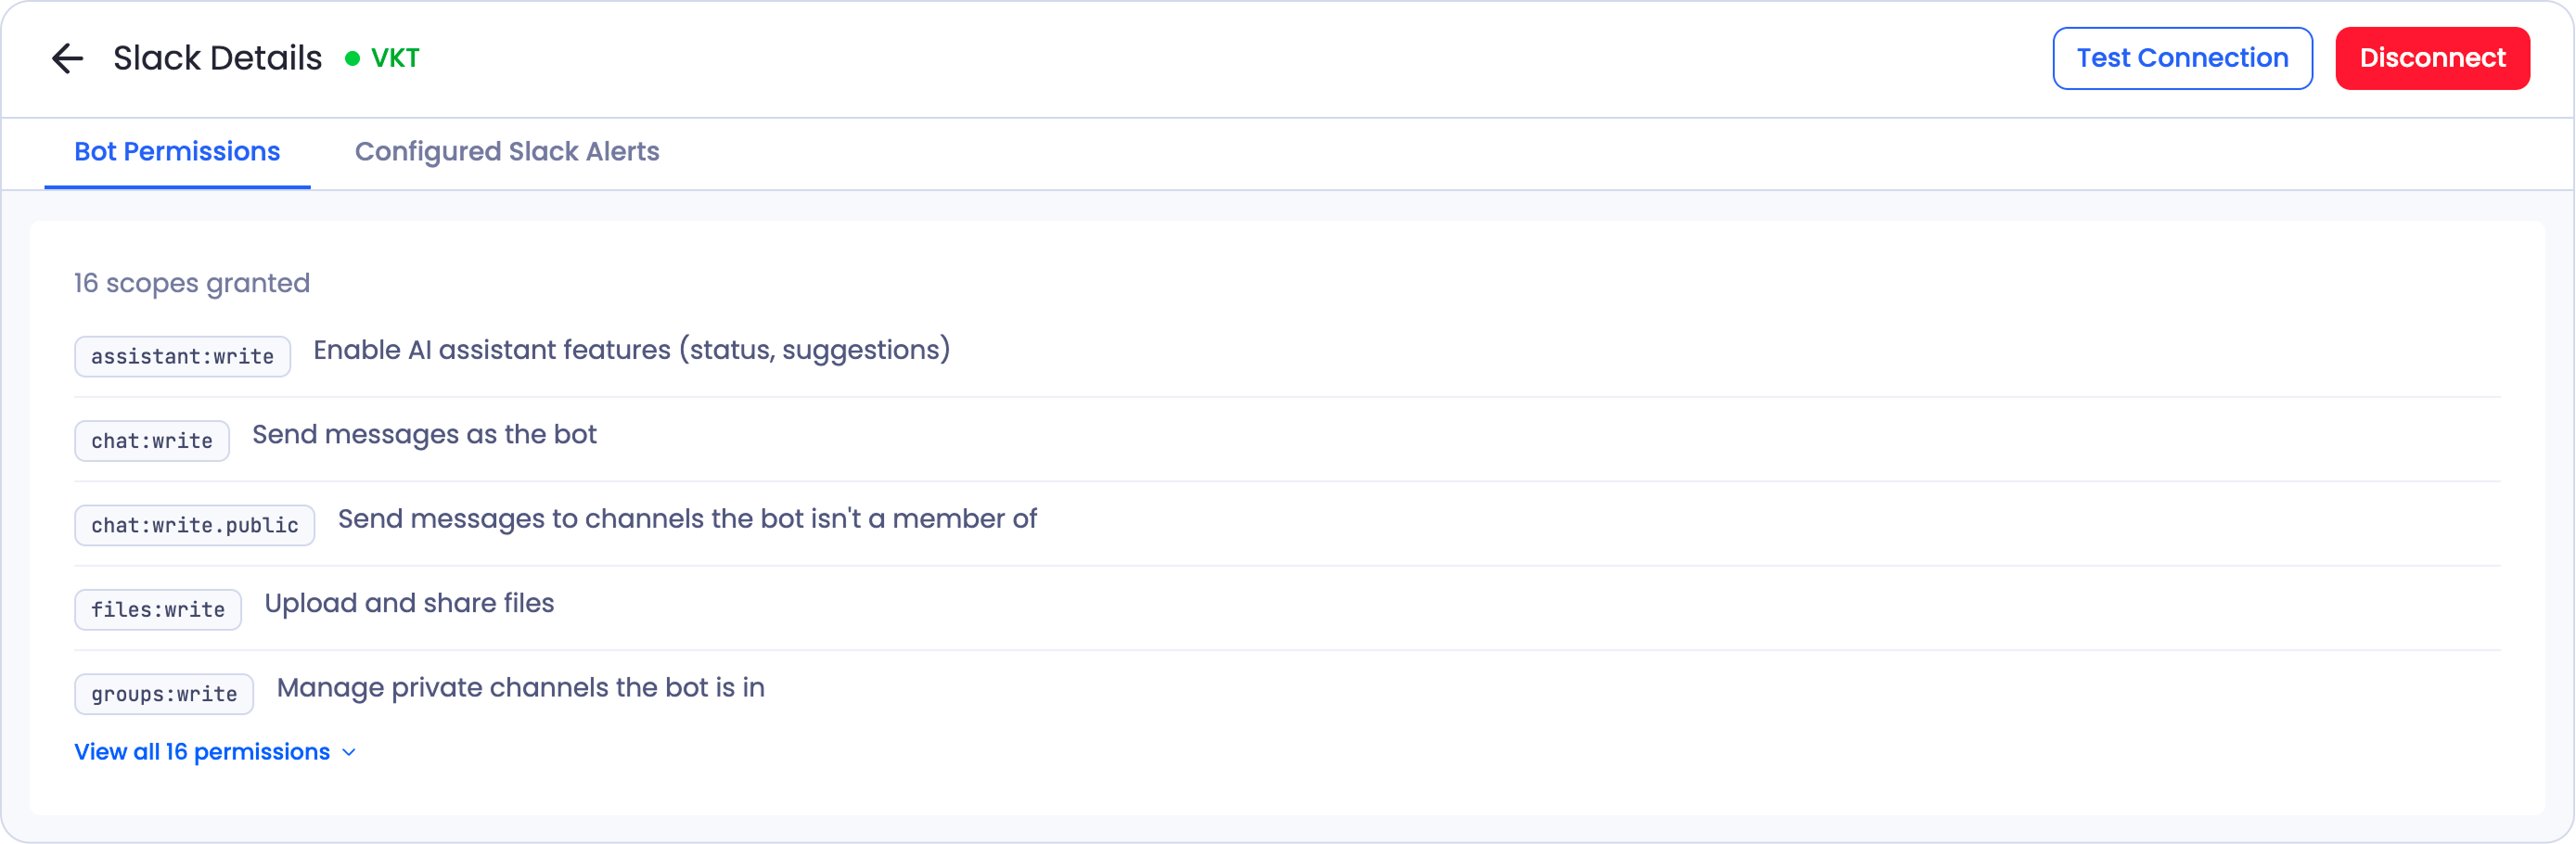
Once Slack is connected, select View Details on the Slack card to open Slack Details. This page is where an admin can confirm everything is working and see what's been set up.
At the top, Test Connection checks that Petavue can still reach your Slack workspace, and Disconnect removes the integration.
The page has two tabs:
Bot Permissions lists every scope granted to the agent in plain language, so you can see exactly what it can and can't do: sending messages, sending direct messages, uploading files, reading channel information, viewing people in the workspace, and so on. If your security team asks what the integration can access, this is the page to show them.
Configured Slack Alerts lists every workflow currently delivering to Slack, with its target (the channels and people it posts to) and its status, whether it's active or paused. Each one has an Edit link that takes you to its settings.
If a summary has stopped arriving, check Configured Slack Alerts first. A paused workflow, or one still pointing at a workspace you've since moved away from, shows up here and is flagged.
Who Can Actually Use It
Installing the agent makes it visible to your whole Slack workspace, but visibility isn't access.
Only people whose Slack email address is also registered as a user or admin in Petavue can ask the agent questions. Someone who's in your Slack workspace but isn't a Petavue user will see the agent, and can open it, but won't get answers.
The same applies to delivery. Setting up a Summary to post into Slack is something only a Petavue user can configure.
If a colleague reports that the agent isn't answering them, the usual reason is that they haven't been added to Petavue. Seeing the agent in Slack doesn't grant access to your data, which is deliberate.
Adding the Agent to a Channel
Installing the agent in your workspace doesn't automatically put it in every channel. For a channel to receive Summaries, the agent needs to be in that channel first.
In the channel, add the Petavue app the way you'd add any Slack app, either by typing an invite command or through the channel's Add apps option. Once the agent is in the channel, that channel becomes available to pick when you publish a Summary.
If a channel you expect to see isn't showing up in the publish flow's channel list, this is almost always why. Invite the agent to the channel, then check again.
What Works Today
Questions are asked by direct message with the agent. Tagging it in a channel isn't supported yet.
Summaries can go to channels or to people directly, and a channel message is simpler than a direct one: it arrives as plain text rather than a formatted table, and your team can't ask follow-ups from it. See Sage in Slack for what the agent can do once you're set up.
Getting Help
If you have questions, run into issues, or want to share feedback on the experience, reach out to us directly at support@petavue.com. We're available and responsive, and your input matters.